Wondering how to bake gluten free bread that’s soft, fluffy, and delicious? Baking gluten free bread can feel intimidating for beginners, but with the right ingredients, techniques, and patience, anyone can make tasty homemade loaves. This guide breaks down exactly how to bake gluten free bread step-by-step, helping you understand the unique necessities of gluten free baking while avoiding common pitfalls. Whether you’re learning how to make gluten free bread for health reasons or simply to expand your baking skills, you’ll find practical advice and clear instructions to set you up for success. Let’s begin your gluten free baking adventure!
Understanding How to Bake Gluten Free Bread
What Makes Gluten Free Bread Different?
Unlike traditional wheat bread, gluten free bread lacks gluten— the protein that provides structure and elasticity. This means gluten free dough behaves more like batter than traditional dough, often wetter and less stretchy. To compensate, gluten free bread recipes rely on specialized flour blends, binding agents like xanthan gum or psyllium husk, and precise moisture control to create a structure that holds together and rises well.
Common Challenges in Gluten Free Baking
Beginners often face issues such as dense loaves, crumbly texture, or bread that doesn’t rise. These challenges come from the absence of gluten’s natural network, moisture imbalances, and incorrect handling of yeast or leavening agents. Learning how to bake gluten free involves understanding how each ingredient and step supports the loaf’s rise, texture, and flavor.
Essential Ingredients for Gluten Free Bread
Choosing the Right Flour Blend
How to make gluten free bread starts with the flour. Gluten free flours come in many varieties—rice flour, sorghum, tapioca starch, almond flour, and more. For yeast bread, blends containing a mix of starches and proteins typically deliver the best rise and crumb. Many brands offer all-purpose gluten free blends designed for bread baking, but you can also make your own customized blend.
Binders and Leaveners
Binders like xanthan gum or psyllium husk powder replace the elastic properties of gluten, helping dough hold together and trap gas bubbles. Yeast activates with warmth and sugar, producing carbon dioxide that causes dough to rise. Rapid-rise or instant yeast works best for consistent results. Some recipes also include baking powder or baking soda as secondary leavening agents for lightness.
Gathering Your Equipment and Tools
Basic Kitchen Tools Needed
Begin your journey on how to bake gluten free bread by preparing your workspace with these essentials:
- Mixing bowls (preferably large)
- Measuring cups and spoons or a digital kitchen scale for precision
- Stand mixer or hand mixer with paddle attachment (optional but helpful)
- Loaf pan (ideally 9x5 inches or a Pullman loaf pan for uniform rise)
- Instant-read thermometer to check bread doneness
- Serrated bread knife for slicing
Tips for Equipment Use
A stand mixer makes mixing easier by aerating the dough and synthesizing ingredients evenly, but you can mix by hand carefully. Using the correct loaf pan size ensures the dough rises vertically, avoiding flat, dense bread. An instant-read thermometer is critical because gluten free bread often looks done before it is fully baked inside.
Step-by-Step Process: How to Make Gluten Free Bread
1. Preparing the Dough
Start by mixing dry ingredients: gluten free flour blend, xanthan gum (if not included in flour), yeast, salt, and sugar. In a separate bowl, combine warm water (between 100-110°F), oil, and optionally vinegar or honey for better yeast activation. Gradually add wet ingredients to dry and blend well until the dough resembles a thick batter rather than a firm dough.
2. First Rise (Proofing)
Pour the batter into a greased loaf pan, then loosely cover with oiled plastic wrap or a damp towel. Place the pan in a warm, draft-free environment. The dough should rise until it’s roughly 50% larger, usually about 30-45 minutes, depending on room temperature. Avoid over-proofing as gluten free dough can collapse easily.
Baking Your Gluten Free Bread
Oven Settings and Baking Time
Preheat your oven to 350-375°F, depending on your recipe. Bake the bread on the middle oven rack to promote even heat distribution. Bake for 30-60 minutes, depending on loaf size, until the crust is golden and an instant-read thermometer inserted in the center reads 205-210°F. Baking longer at a lower temperature can help firm the crust without drying the crumb.
Cooling and Slicing
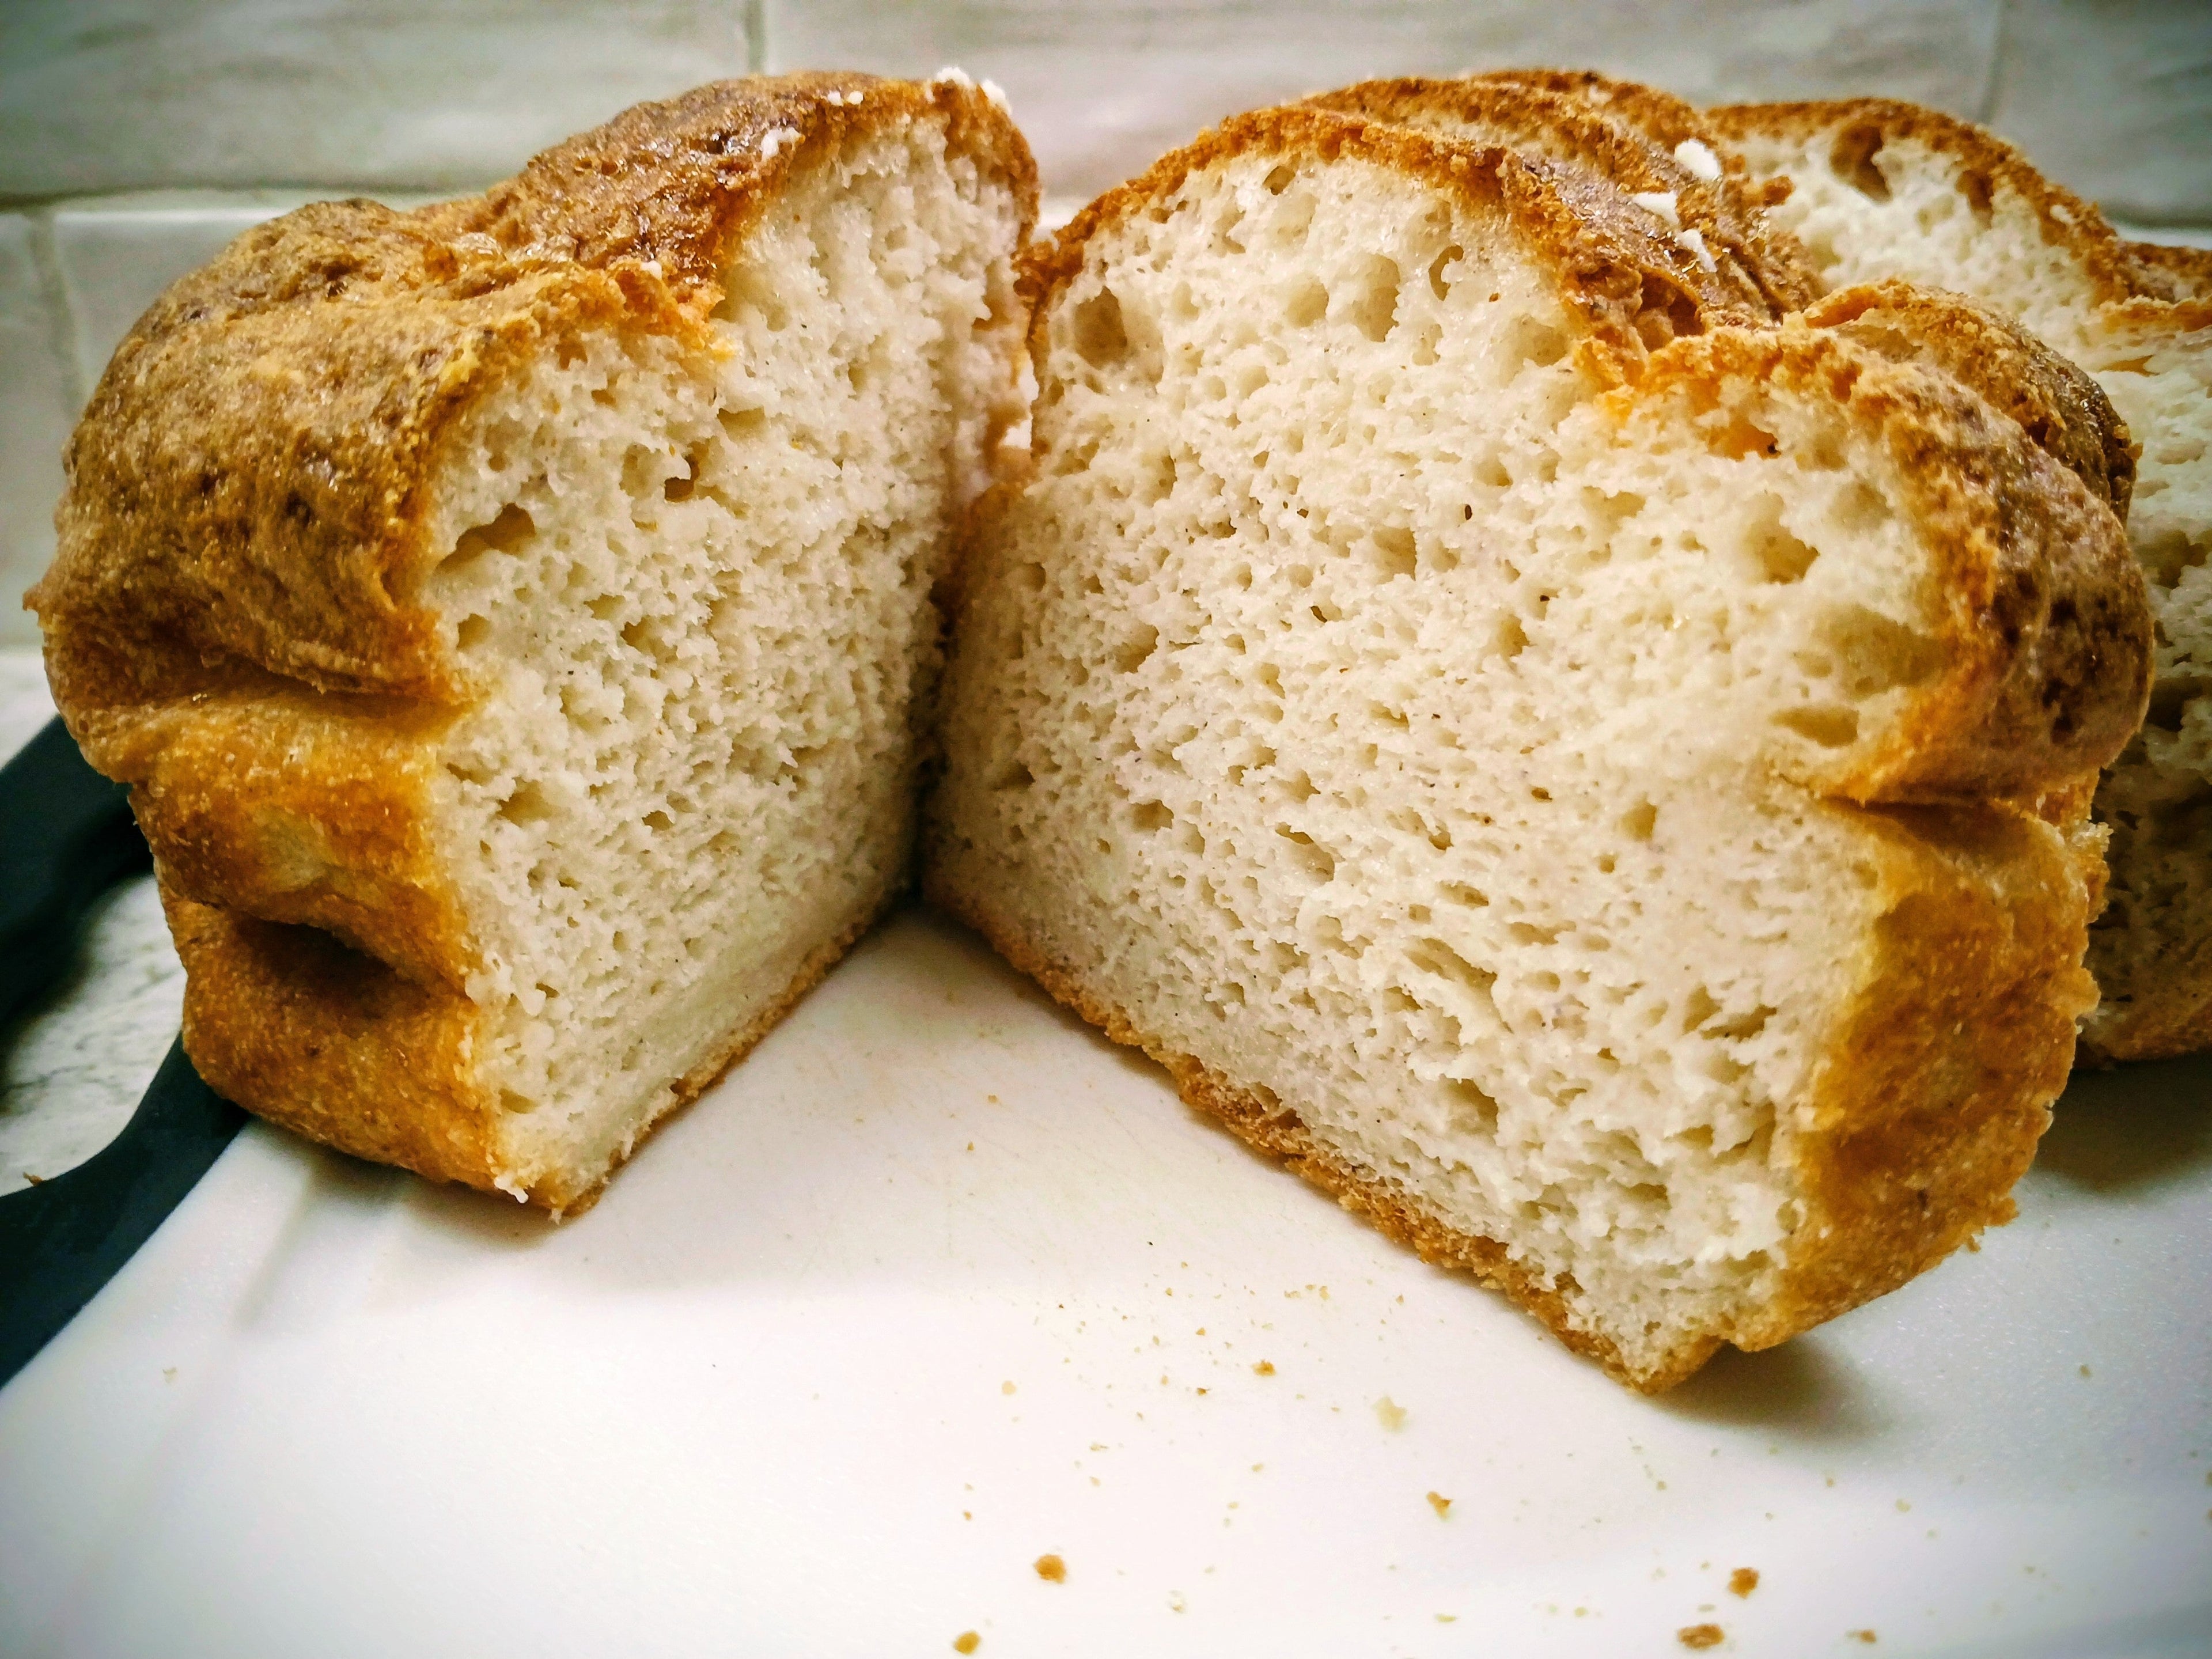
Allow the bread to cool in the pan for 10-15 minutes, then transfer to a cooling rack to prevent sogginess, especially underneath. Gluten free bread usually benefits from cooling fully (up to 1-2 hours) to set the crumb and improve slicing quality. Use a serrated knife for clean slices without squashing the loaf.
Common Issues and How to Fix Them
Dense or Gummy Texture
This often results from underbaking or excess moisture. Use an instant-read thermometer to verify doneness, and reduce added liquids slightly if your bread feels gummy after cooling. Ensuring accurate flour measurements by weight rather than volume can prevent mistakes.
Bread Doesn’t Rise Enough
Check your yeast’s freshness and proof it if using active dry yeast. Keep the rising environment warm but not hot. Avoid overmixing, which can damage yeast activity. Using a pan with high sides allows the bread to rise upward and maintain shape.
Tips for Success: How to Cook Gluten Free Bread Like a Pro
Ingredient Measurement and Handling
- Always weigh gluten free flour for accuracy.
- Use room temperature ingredients to activate yeast properly.
- Stir gently, and avoid overmixing the batter.
- Let the dough rest briefly after mixing to hydrate the flour evenly.
Baking Environment and Storage
Proof bread in a warm area like an oven with the light on or a warming drawer. Store cooled bread in an airtight container or wrap to maintain freshness. Freeze leftover bread tightly wrapped to preserve texture, thawing at room temperature or toasting slices directly from frozen.
Exploring Variations and Add-Ins
Enhancing Flavor and Texture
Once you master how to bake gluten free bread, experiment with hearty add-ins like seeds (sesame, chia, sunflower), nuts, herbs, or gluten free grains such as millet or quinoa. These add nutritional value and interesting textures.
Using Bread Machines or Alternative Baking Methods
Bread machines with gluten free settings simplify the process by controlling mixing and baking times. You can also bake bread in Dutch ovens to create a crustier crust or open baking pans for artisan-style loaves, depending on your texture preference.
Summary: Mastering How to Bake Gluten Free Bread
Understanding how to bake gluten free bread involves selecting reliable gluten free flours, mastering dough consistency, and patiently following the proofing and baking steps. Using the right equipment and measuring ingredients carefully ensures your bread rises well and delights with texture and flavor. Don’t be discouraged by initial challenges — every loaf teaches valuable lessons. Ready to dive deeper into gluten free baking? Explore specialized gluten free flour blends and detailed recipes to continue your baking journey. With these tips, you’ll confidently create soft, delicious gluten free bread perfect for any occasion.